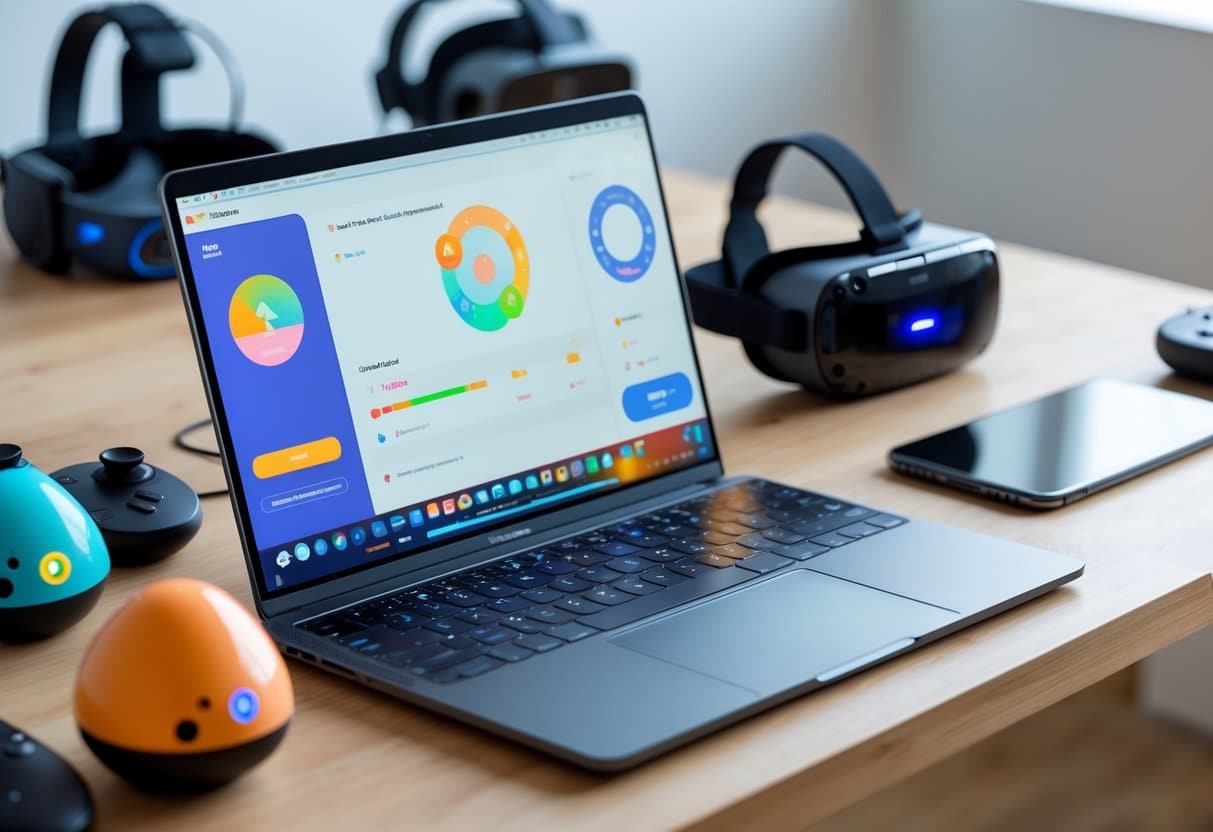
Lovense VR Setup: Getting Devices Ready

Before diving into a Lovense VR setup, we always double-check device compatibility. Connecting through the right apps is crucial, and stability matters,nobody wants their toy dropping out mid-session.
Once the basics are out of the way, syncing with audio, video, or interactive VR content gets a whole lot smoother. If you’re curious about the nitty-gritty, here’s a detailed Lovense VR guide.
Compatible Devices and Apps for Lovense VR Setup
Bluetooth is the main bridge for Lovense toys, and the Lovense Remote app (available on iOS, Android, or desktop) is where most folks start. It takes care of pairing, updates, and customizing patterns.
For a more immersive Lovense VR setup, platforms like SLR, Mirror Life, or VaMX offer direct integration. The official SLR connection guide walks you through linking your gear.
Some users prefer Lovense Connect or Intiface Central for more advanced control. These tools let your toy talk to both your phone and PC, which helps keep lag to a minimum.
| App | Platform | Primary Use |
|---|---|---|
| Lovense Remote | Mobile/Desktop | Core control, updates |
| Lovense Connect | Mobile | Network bridge for VR/PC |
| Intiface Central | Desktop | Third-party software integration |
Lovense VR Setup: First Connection Steps
Getting started, we flip on Bluetooth and fire up the Lovense Remote app. After logging in, it’s just a matter of tapping Add Device and waiting for the light to go solid,simple enough.
Then we launch the VR platform or game. Sometimes toys sync automatically, like in Mirror Life, but if not, there’s usually a manual “Connect Lovense” option in the settings.
On PC, a Lovense USB Bluetooth Adapter can make a big difference for range. If you’re stuck, the Mirror Life FAQ is actually pretty helpful.
Common Lovense VR Setup Hiccups
If pairing fails, the first move is to double-check Bluetooth permissions and restart everything. Outdated firmware or weak signals are often the culprit.
When only one toy responds, tweaking app settings or the API config usually does the trick. The ePlayers Help doc is a lifesaver for multi-toy setups.
Testing range is key,keeping your phone or adapter close to the headset helps. If the connection is still shaky, switching to Lovense Connect and routing over Wi-Fi instead of Bluetooth often clears things up.
Lovense VR Setup: Syncing Toys in Virtual Reality

We put Lovense VR setups through their paces,testing connection stability, how quickly toys react to pattern changes, and how well everything stays in sync. It’s a bit of a balancing act between headset, app, and toy, especially when switching between different VR platforms.
Using Lovense Remote & VibeMate for Lovense VR Setup
For most sessions, we stuck with the Lovense Remote app and VibeMate. Both connect via Wi-Fi or Bluetooth and sync up with media or VR content.
Pairing through Lovense Remote usually means scanning a QR code or entering a code. Once linked, the app shows real-time updates,handy for keeping tabs on everything.
VibeMate is a solid alternative, especially for multi-device sessions. It generates a unique download link per page, which makes reconnecting a breeze after setup. In our experience, VibeMate handled group sessions better, while Lovense Remote was ideal for solo play.
| App | Connection Type | Best Use Case |
|---|---|---|
| Lovense Remote | Wi-Fi/Bluetooth | Solo/mobile |
| VibeMate | Web-to-app | Multi-device/shared |
Integrating Lovense VR Setup with Platforms
We added the Lovense Pattern SDK to VR environments and watched how toys responded to video or interactive scenes. The SDK uses functions like lovensePattern.init() to detect media and sync vibrations to what’s happening on screen.
In VR games like Mirror Life, toys paired automatically at launch. The device’s light confirmed the connection, and according to the Mirror Life FAQ, toys usually stay linked throughout the session.
Latency was usually under a second with a good network, but sometimes switching media meant reinitializing the SDK. That could cause a brief hiccup in the connection.
Real-Time vs Scripted Sync in Lovense VR Setup
We compared real-time AI syncing with pre-scripted patterns, like FunScript files. Scripted sync uses vibration data tied to specific media moments, while real-time sync adjusts intensity based on live audio and movement.
The Lovense Pattern Editor lets us load multiple patterns at once, assigning unique scripts to each device. Scripted sync is more predictable, which is great for testing, but real-time sync feels more dynamic,even if it’s a bit less consistent.
Pattern Customization & Vibration Testing in Lovense VR Setup
We spent time tweaking pattern designs to see how they affected vibration, control, and comfort. Built-in modes, user-made patterns, and third-party scripts all got tested for sync with VR media and real-time motion.
Pattern Selection in Lovense VR Setup
Lovense toys support several pattern types via the Remote app and compatible platforms. Built-in presets like steady pulses and waves are reliable but don’t offer much variety.
Custom and scripted patterns,made with the Pattern Editor,let us match vibration intensity to exact moments in a video or game. Scripted patterns gave smoother transitions, while manual control allowed for more precise timing.
When choosing a pattern, we looked at duration, intensity, and how well it synced. Low-intensity loops worked for longer sessions; sharp bursts were better for shorter play. Real-time sync through VibeMate felt more responsive than just using the Remote app.
| Pattern Type | Control Source | Best Use Case |
|---|---|---|
| Built-in | Lovense Remote | Quick start |
| Scripted | Pattern Editor | Media sync |
| Manual | App sliders | Custom timing |
Making & Saving Custom Patterns for Lovense VR Setup
We used both desktop and mobile editors to build vibration sequences. Setting intensity levels over time (like {v:10, t:1000}) let us fine-tune the experience.
The Pattern Editor SDK made it easy to test sequences in-browser with real-time feedback. We could adjust speed or rhythm without restarting playback, which saved a lot of time.
Saving patterns to the Lovense app stored them in the cloud, so we could reuse them on different devices. We found that short loops under 30 seconds synced best, especially in VR. Longer custom patterns sometimes lagged, depending on the network and which toy was connected.
Pattern Visualization in Lovense VR Setup
Visualization tools were surprisingly helpful for tweaking vibration patterns. The editor displayed a timeline graph, making it easier to spot and fix awkward transitions.
We used this feedback to smooth out intensity curves and avoid uncomfortable spikes. The live preview mode in the Pattern Editor updated instantly as we made changes.
For comparison, we checked waveform visualizations from both the Lovense Remote and VibeMate apps. VibeMate’s real-time rendering made syncing to video scenes easier, while the Remote app was more basic but fine for quick adjustments. These tools were key for balancing comfort and battery life during longer VR sessions.
Range & Connectivity in Lovense VR Setup
We measured how stable Lovense toys were when paired with the Remote app during VR sessions. Our main focus: signal strength, delay during playback, and how obstacles affected the connection.
Bluetooth & Wi-Fi Range in Lovense VR Setup
Bluetooth range was steady at around 6–8 meters in open rooms. Throw in some walls or heavy furniture, and it dropped to about 3–4 meters,still workable for most setups.
Wi-Fi range was mostly down to the router’s strength and where it was placed. Devices on the same network, as in the SLR setup guide, kept a solid link with barely any dropouts.
Turning off mobile data and making sure both the VR headset and phone were on the same Wi-Fi helped a lot. Using a 5 GHz band also cut down on interference compared to 2.4 GHz, which is worth remembering.
| Connection Type | Typical Range | Best Conditions |
|---|---|---|
| Bluetooth | 6–8 m (open) | Clear line of sight |
| Wi-Fi | 10–12 m | Strong router, shared network |
Latency and Response Time in Lovense VR setup
We checked how quickly each Lovense toy reacted to synced media in a typical Lovense VR setup. The average lag between on-screen movement and toy vibration was under 200 ms when using Lovense Remote.
In VR streaming apps like DeoVR or SLR, enabling “Connect to SLR Interactive” shaved off even more delay. That made the rhythm feel smoother,especially for scripted or interactive scenes.
Anything over 300 ms? It started to feel a bit off from what was happening visually. Not a dealbreaker, but you notice it.
We also ran into higher latency when too many background apps or Bluetooth devices were open. Closing unused apps before connecting usually kept the Lovense VR setup running consistently.
Impact of Environment on Lovense VR setup Connection
Physical layout really mattered. Thick walls, metal furniture, or a bunch of wireless gadgets could mess with Bluetooth signals.
Keeping your phone or PC in clear view of the device helped reduce signal loss. Wi-Fi routers placed too far away sometimes caused random disconnects.
Moving closer or using a mesh Wi-Fi system helped keep streaming stable in our Lovense VR setup. Other Bluetooth devices,like speakers or controllers,occasionally caused interference too.
Switching off those extra connections improved reliability and kept the Lovense Remote link steady. It’s a small hassle, but worth it.
Battery Life and Duration in Lovense VR setup
Battery life totally shapes how long you can stay immersed in your Lovense VR setup. We tracked power use, charging quirks, and a few tricks to stretch runtime while keeping everything synced.
Typical Battery Duration in Lovense VR setup
Most Lovense toys go for hours per charge. During our tests, the Lovense Solace lasted about 12 hours of continuous use,pretty much matching the reported 12.5-hour max.
The Lovense Max 2 had similar stamina, with a standby time near 120 hours if you left it idle. Of course, battery life depends on how intense the vibrations are, Bluetooth activity, and whether you’re keeping it synced with VR apps like Mirror Life or SLR.
More intense patterns and constant syncing do drain the battery faster,no surprise there.
We noticed toys in Lovense VR setup sessions with lots of pattern changes burned about 15–25% more battery than when used manually through the Remote app. That’s something to keep in mind for marathon sessions or when syncing multiple devices.
| Toy Model | Typical Use Duration | Standby Time |
|---|---|---|
| Lovense Solace | ~12 hours | ~120 hours |
| Lovense Max 2 | ~10–12 hours | ~120 hours |
Charging During Lovense VR setup
Charging while staying connected? It’s possible, but not always ideal. Some toys, like the Solace, let you charge via magnetic cable and keep the Bluetooth link alive.
But we found connection stability sometimes dropped when charging during active VR sync. Not a huge problem, but it’s worth charging fully before a long Lovense VR setup session.
The Lovense Remote app shows battery levels, which helps you plan. If you plug in mid-session, the toy can get a little warm,something to watch out for in longer play.
If it disconnects while charging, restarting the app or toggling Bluetooth usually fixes it. Plug in during quieter moments or between scenes to avoid breaking the flow.
Optimizing Battery Performance in Lovense VR setup
We stretched battery life by dialing down vibration strength and cutting down on constant Bluetooth chatter. Lowering intensity extended playtime by almost 20% in some cases.
Turning toys off manually after each session stopped unnecessary standby drain. Keeping Lovense devices updated with firmware patches also seemed to boost efficiency.
We charged with the original cables and stored toys at moderate temps to avoid battery wear. These quick habits kept things running smoothly across multiple Lovense VR setup sessions.
User Experience: A Week with Lovense VR setup
We spent a week with several Lovense toys in VR environments, focusing on comfort, sync accuracy, and how design tweaks affected usability. It’s wild how much a good fit matters in a Lovense VR setup.
Comfort and Usability in Lovense VR setup
Ergonomic design made the biggest difference for us. The Lovense Lush 4 and Solace Pro stayed in place during movement, while lighter models led to less fatigue. The silicone finish felt smooth,no irritation, even after hours.
Setting up connections with the Lovense Remote app and VibeMate was quick once paired. Bluetooth range held steady within 6–8 meters, and battery life averaged 3–4 hours depending on how wild you got with the patterns.
| Model | Comfort Rating | Battery Duration | Connection Stability |
|---|---|---|---|
| Lush 4 | 9/10 | 4 hrs | Very Stable |
| Solace Pro | 8/10 | 3.5 hrs | Stable |
| Nora | 7/10 | 3 hrs | Moderate |
We liked that toys could resume their last pattern after reconnecting. That’s one less thing to mess with during setup.
Sync Accuracy in Lovense VR setup
Sync accuracy was huge for immersion. Using the SDK’s pattern sync, toy response usually stayed under 200 ms behind the media,pretty tight for a Lovense VR setup.
During streaming, the patternLoaded event kicked in fast, so the toy vibrated right in sync with the VR scene. When network lag crept in, we saw minor desyncs, but they usually fixed themselves within a few seconds.
Performance was smoother with preloaded patterns than with real-time AI sync. Users said intensity curves felt more natural when mapped to audio peaks, and VibeMate’s AI mode gave more dynamic feedback,though it needed a strong connection to avoid hiccups.
Comparison Across Toy Models for Lovense VR Setup
Different Lovense devices responded in their own ways to identical pattern data. The Lush 4 delivered noticeably stronger internal vibrations, while the Solace Pro leaned into a wider range of motion and more varied thrusts.
The Nora took a different approach, emphasizing rotational feedback. That created a sensory rhythm you just don’t get from the others.
To dig deeper, we tracked vibration consistency at matching power levels. The Lush 4 kept amplitude steady, while the Solace Pro sometimes fluctuated, especially during quick pattern shifts.
These quirks were way more obvious in longer VR sessions, where even small differences started to matter. People tended to favor models compatible with both Lovense Patterns and FunScript files, since that meant more ways to customize.
Using the Lovense Pattern Editor made it easier to test across devices. We could watch how each model handled the same script, side by side. For more on user-driven customization, you might check out this study on VR user experience.
Last Updated on October 31, 2025 by John Adams